Building a Todo app with Knockout.js
This is my first attempt with Knockout-js to build a Todo App.
Knockout is a popular JavaScript library that simplifies the creation of complex data-based user interfaces. It can be used alone or with other libraries, such as jQuery. Its primary purpose is to bind UI elements to an underlying data model defined as a JavaScript object, such that when changes are made to the UI, the model is updated, and vice versa. Knockout facilitates the use of a Model-View-ViewModel (MVVM) pattern in a web application’s client-side behavior. The two main concepts one must learn when working with Knockout’s MVVM implementation are Observables and Bindings.
Lets start.You can follow the steps from the github repo for this tutorial.

If you are unfamiliar with this library, then I would strongly recommend reading the complete tutorial on Tutorial.
Thinking in components
Todo List ToDo application is to record the agency matters, saved it in local storage. User can add, modify, view, update, and delete todo items in application.
According to the above described To-do applications have to know this basic CRUD (Create-Read-Update-Delete) function, but also can store to-do function.
According to these requirement, I create to-do application with Knockout.js
Step1 – build ViewModel
The first step is create to-do object and then building ViewModel based on to-do object
Todo object
var Todo = function(title, completed){
    this.title = ko.observable(title);               //To-do Title
    this.completed = ko.observable(completed);       //To-do status True: completed False: uncomplete
    this.editing = ko.observable(false);             //Edit staut True: can edit False: cannot edit
};
It is to save to-do item in array
ViewModel:
var ViewModel = function(todos){
    this.todos = ko.observableArray(todos.map(function(todo){
    return new Todo(todo.title, todo.completed);
    }));
};
Step1 – Add function
介面

index.html:
The “current” variable is bind to input elements : The value binding links the associated DOM element’s value with a property on your view model. When the user edit form controls time, view model corresponding attribute value is automatically updated. Similarly, when you update the view model properties when the corresponding element values are automatically updated on the page.
value binding has a main parameter (Value) and other parameters (valueUpdate)
<input class="todoField" id="new-todo" data-bind="value: current, valueUpdate: 'afterkeydown', enterKey: add" placeholder="What needs to be done?" autofocus>
valueUpdate
If your binding also includes a parameter called valueUpdate, this defines additional browser events KO should use to detect changes besides the change event. The following string values are the most commonly useful choices:
“input” - updates your view model when the value of an or
ou can also trigger updates based on other events by using the valueUpdate parameter described above.。 reference : http://knockoutjs.com/documentation/value-binding.html
When the user presses Enter, it will invoke add function. This will create a new Todo and placed in the list in add function.
App.js:
this.current = ko.observable();
this.add = function(){
    var current = this.current().trim();
    if(current){
        this.todos.push(new Todo(current,false));
        this.current('');
    }
}.bind(this);
Step2 – Display Todo list
在显示待办事项时,用三个控件(checkbox、lable、button)组成一个待办事项控件,而在每一个控件也绑定一个:
checkbox : 让用户决定是否已完成
lable : 显示待办事项标题
button : 让用户可以删除待办事项
在knockoutjs可以使用迴圈方式来建立控件,也就是样板的概念,所以绑定ul时我用foreach方式来建立待办事项控件。
介面

index.html:
<ul id="todo-list" data-bind="foreach: todos()">
<li data-bind="css: { completed: completed, editing: editing }">
<div class="view">
<input class="todoCheckbox" data-bind="checked: completed" type="checkbox" >
<label data-bind="text: title, event: { dblclick: $root.editItem }, css: {textDecoration:completed()==true}" ></label>
<button class="close pull-right" data-bind="click: $root.remove">×</button>
</div>
<input class="edit" data-bind="value: title, valueUpdate: 'afterkeydown', enterKey: $root.saveEditing, escapeKey: $root.cancelEditing, selectAndFocus: editing, event: { blur: $root.saveEditing }">
</li>
</ul>
Step2 – Edit 、 Update and Delete Todo item
To-Do control is to bind complete, edit, update, and delete functions.
Binding editing function (editItem), I use a double click event: dblclick: $ root.editItem in label elemen, when the user double-clicks the control, label label will disappear and input label appear, and this is also bound to input label on renewal and cancellation empty function.
Binding completed ToDo (completed),It is bound to checked event: checked: completed in input element, at the same time update the view model, I have given in the label’s CSS also bind css: {textDecoration: completed () == true}, so when the line is completed to-do will be deleted.
Binding delete function (remove), It is bound to click event: click: $ root.remove in button element
index.html:
<ul id="todo-list" data-bind="foreach: todos()">
<li data-bind="css: { completed: completed, editing: editing }">
<div class="view">
<input class="todoCheckbox" data-bind="checked: completed" type="checkbox" >
<label data-bind="text: title, event: { dblclick: $root.editItem }, css: {textDecoration:completed()==true}" ></label>
<button class="close pull-right" data-bind="click: $root.remove">×</button>
</div>
<input class="edit" data-bind="value: title, valueUpdate: 'afterkeydown', enterKey: $root.saveEditing, escapeKey: $root.cancelEditing, selectAndFocus: editing, event: { blur: $root.saveEditing }">
</li>
</ul>
App.js:
// delete function
this.remove = function(todo){
    this.todos.remove(todo);
}.bind(this);

// edit function
this.editItem = function(item){
    item.editing(true);
    item.previousTitle = item.title();
}.bind(this);

// save function
this.saveEditing = function(item){
    item.editing(false);

    var title = item.title();
    var trimmedTitle = title.trim();

    if(title !== trimmedTitle){
        item.title(trimmedTitle);
    }

    if(!trimmedTitle){
        this.remove(item);
    }
}.bind(this);

// cancel function
this.cancelEditing = function(item){
    item.editing(false);
    item.title(item.previousTitle);
}.bind(this);

// save function
ko.computed(function(){
    localStorage.setItem('todos-knockoutjs', ko.toJSON(this.todos));
}.bind(this)).extend({
    rateLimit: {timeout: 500, method: 'notifyWhenChangesStop'}
});
When you finish , you can see the TodoApp as below .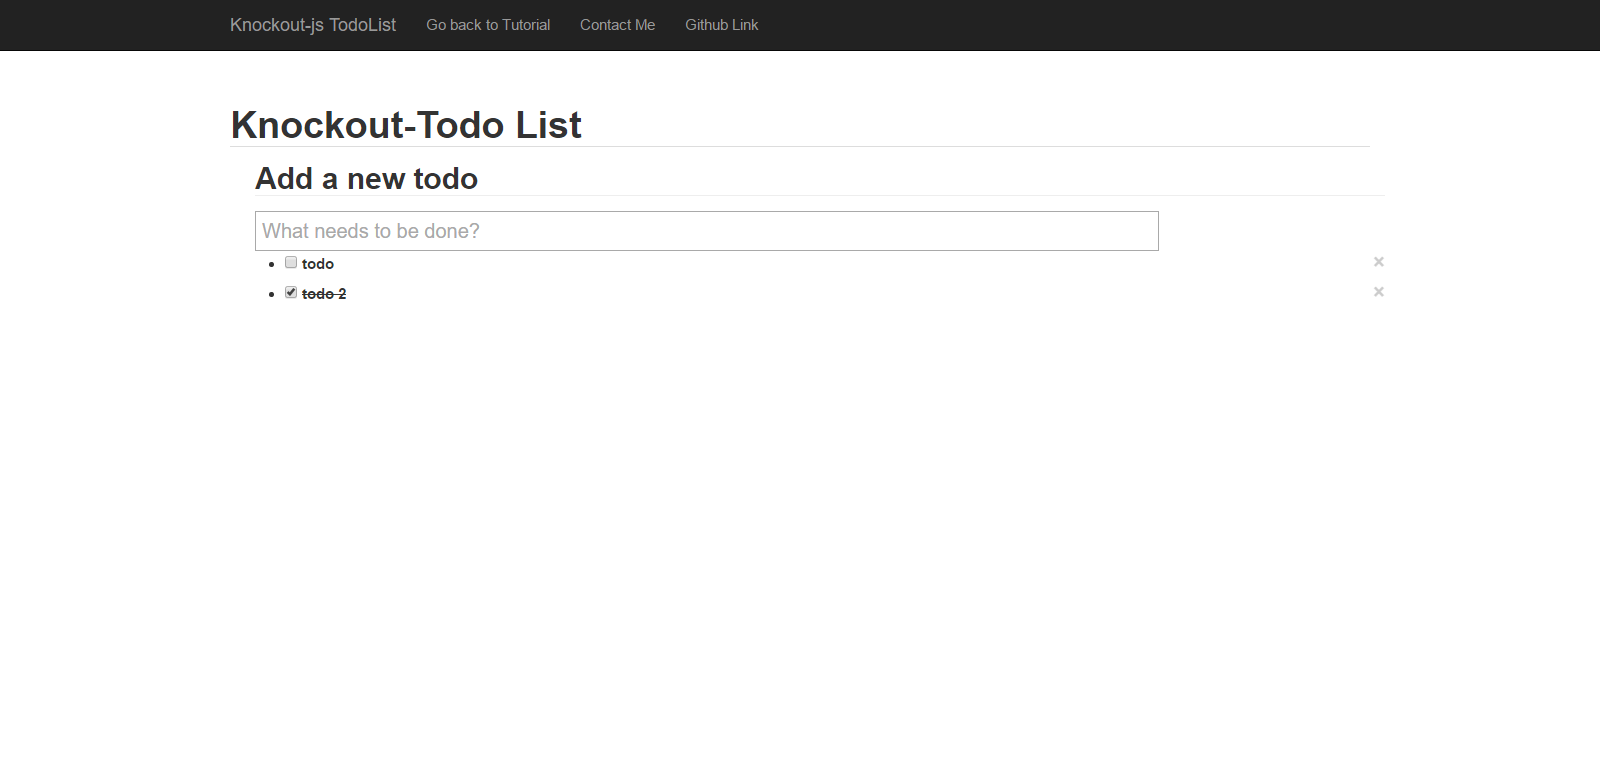
The complete working demo can be found here .
##Building a Todo app with Knockout.js (1) - A simple todo list
##Building a Todo app with Knockout.js (2) - Filter、Search and Sortable function